Lately, our company started growing so I had to start interviewing frontend engineers, UI/UX designers and other developers who focus on the UI aspect of web development
At first, my expectation was that the process wouldn’t involve anything else but talking to a person. I was caught off guard about the fact that a lot these amazing developers shared with me their portfolios, websites or even demos. It was surprising and inspiring to see some of the creative ways people standout.
Because of the simplicity and coolness, one caught my eye as something I could do for myself in less than 15 minutes.
So I did it, you can test it out in your terminal and of course, I’ll show you how to do it. See below 👇
+++
How to run
This assumes you have
nodeandnpminstalled in your system
- Open your
Terminal - Type
npx oschvrand hit enter
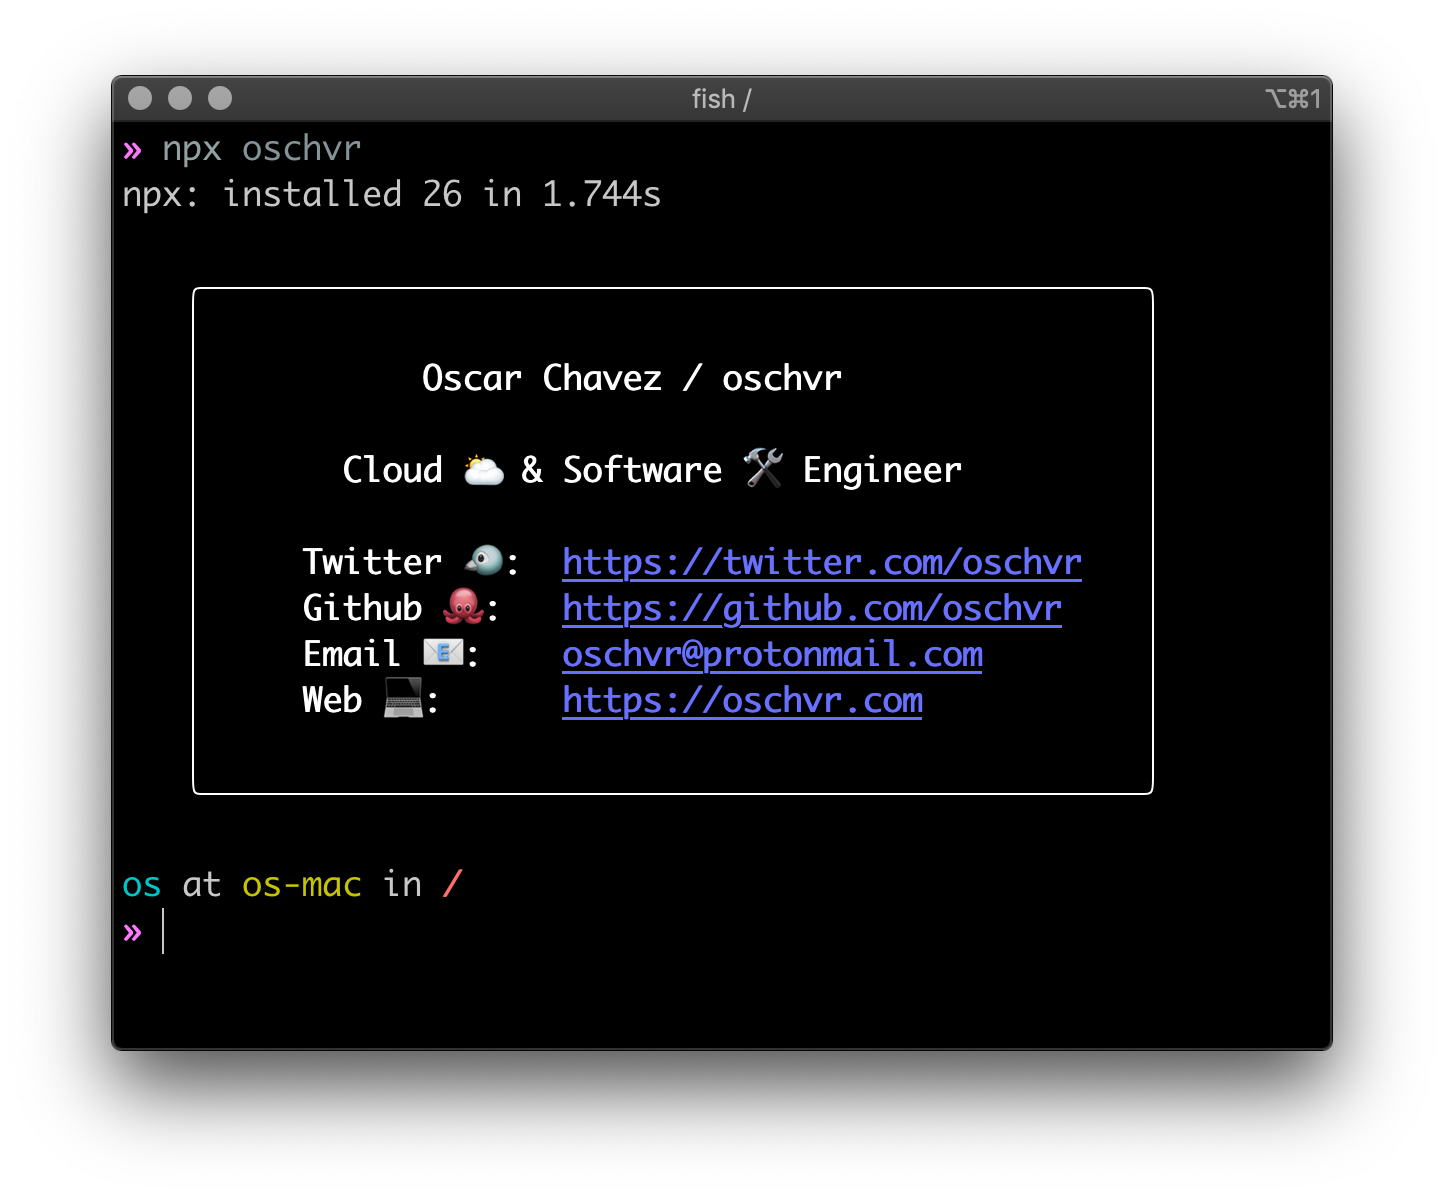
npx oschvr
The command will output a nicely formatted ASCII card with my contact information in your terminal. -Nice 😎
It works just like npm, in the sense that it retrieves packages from the NPM (node package manager) registry, except that npx will execute node binaries, if any.
Essentially, the command:
- Will pull the code
- Fetch the dependencies and
- Run the binary
Incredibly simple, yet, this same system is being used in more advanced and complex projects.
Creating your own
First, things first:
- Create a folder and go into it,
mkdir card && cd card - Create a new project,
npm init -y - Open your new created project in your code editor,
code .
Now that you have a new project, go to package.jsonand make sure you have at least the following keys: name, main, bin, author, license
- In
name, enter the package name (this is the name you will call innpx) - In
mainandbinenterindex.jsas value, we’ll continue here in the next step - In
author, enter your name or email, this one is optional, but I guess it doesn’t hurt since your giving out your contact info anyways. - In
license, go to choosealicense.com and pick one.
{
  "name": "oschvr",
  "version": "2.0.0",
  "description": "oschvr.com",
  "main": "index.js",
  "bin": "index.js",
  "keywords": ["oschvr"],
  "repository": {
    "type": "git",
    "url": "git+https://github.com/oschvr/card"
  },
  "files": ["index.js"],
  "author": "Oscar Chavez <oschvr@protonmail.com>",
  "license": "The Unlicense",
  "dependencies": {
    "boxen": "^4.2.0",
    "chalk": "^4.1.0"
  }
}
package.json
Note that I already have two dependencies, chalkand boxen. To install them
Go to your terminal and enter
npm install chalk boxen
added 4 packages from 2 contributors,
removed 4 packages,
updated 21 packages and audited 25 packages in 1.362s
found 0 vulnerabilities
- Create a new file
index.jsand open it
As you specified in the package.json, this is your main file (entry) / bin (binary) file.
- To specify that
index.jsis a binary file, start with the following:
#!/usr/bin/env node
node binary
- Add the dependencies you installed earlier
const boxen = require("boxen);
const chalk = require("chalk);
dependencies
- Create an
optionsobject for the surrounding box
const options = {
  padding: 1,
  margin: 1,
  borderStyle: "round",
};
boxen options
- Next, create a
dataobject with whatever information you want to include
const data = {
  name: chalk.white.bold(" Oscar Chavez / oschvr),
  role: chalk.white.bold(" Cloud 🌥 & Software 🛠 Engineer),
  twitter: {
    label: chalk.white.bold("Twitter 🐦:),
    url: chalk.blue.underline(https://twitter.com/oschvr),
  },
  github: {
    label: chalk.white.bold("Github 🐙:),
    url: chalk.blue.underline(https://github.com/oschvr),
  },
  email: {
    label: chalk.white.bold("Email 📧:),
    url: chalk.blue.underline("oschvr@protonmail.com),
  },
  web: {
    label: chalk.white.bold("Web 💻:),
    url: chalk.blue.underline(https://oschvr.com),
  },
};
personal information
- Next, create the
card
const newline = "\n";
const twitter = `${data.twitter.label} ${data.twitter.url}`;
const github = `${data.github.label} ${data.github.url}`;
const email = `${data.email.label} ${data.email.url}`;
const web = `${data.web.label} ${data.web.url}`;
const card = boxen(
  data.name +
    newline +
    newline +
    data.role +
    newline +
    newline +
    twitter +
    newline +
    github +
    newline +
    email +
    newline +
    web,
  options
);
There are a lot of ways you can achieve something you like. I found that in my case, this is where I was tweaking the most.
- Finally, log the result to the terminal.
console.log(chalk.white.bold(card));
All together
#!/usr/bin/env node
const boxen = require("boxen);
const chalk = require("chalk);

const options = {
  padding: 1,
  margin: 1,
  borderStyle: "round",
};

const data = {
  name: chalk.white.bold(" Oscar Chavez / oschvr),
  role: chalk.white.bold(" Cloud 🌥 & Software 🛠 Engineer),
  twitter: {
    label: chalk.white.bold("Twitter 🐦:),
    url: chalk.blue.underline(https://twitter.com/oschvr),
  },
  github: {
    label: chalk.white.bold("Github 🐙:),
    url: chalk.blue.underline(https://github.com/oschvr),
  },
  email: {
    label: chalk.white.bold("Email 📧:),
    url: chalk.blue.underline("oschvr@protonmail.com),
  },
  web: {
    label: chalk.white.bold("Web 💻:),
    url: chalk.blue.underline(https://oschvr.com),
  },
};

const newline = "\n";
const twitter = `${data.twitter.label} ${data.twitter.url}`;
const github = `${data.github.label} ${data.github.url}`;
const email = `${data.email.label} ${data.email.url}`;
const web = `${data.web.label} ${data.web.url}`;
const card = boxen(
  data.name +
    newline +
    newline +
    data.role +
    newline +
    newline +
    twitter +
    newline +
    github +
    newline +
    email +
    newline +
    web,
  options
);
To test your newly created node program,
- Open the terminal and enter
node index.js
os at os-mac in ~/o/b/card (master|✚2)=» node index.js

╭───────────────────────────────────────────────╮
│                                               │
│            Oscar Chavez / oschvr              │
│                                               │
│        Cloud 🌥 & Software 🛠 Engineer         │
│                                               │
│ Twitter 🐦:       https://twitter.com/oschvr  │
│ Github 🐙:        https://github.com/oschvr   │
│ Email 📧:         oschvr@protonmail.com       │
│ Web 💻:           https://oschvr.com          │
│                                               │
╰───────────────────────────────────────────────╯
Once you’re happy with the result, it’s time to publish it so people can use it through npx
Publishing to NPM
The npm utility has a the command publish that is pretty self explanatory. The only requirement is that you need an account at NPM. Create your account here
There are a lot of things you can do when publishing to the NPM registry, but these are out of the scope of this tutorial.
Here’s a great article of how to publish to the npm
- Run
npm publishand wait for it to finish.
Test it out
If all went well,
- Enter
npx <name>where name is the package name you specified inpackage.json
and that’s it ! You should see your freshly created npm card that you can distribute to friends, colleagues and even recruiters.
Repo
I purposely used a free to use and distribute license, so go and clone it or fork it and make yours 👉 https://github.com/oschvr/card.