Before going into the post carefully documenting my process in setting up everything, here’s what this post is about in short:
Installed PiHole on a Raspberry Pi Zero W and connected it to my network to have DNS level ad blocking.
It was reasonably fast to complete and works well.
Here’s how it looks before and after:

Now, for whomever wants to understand why and how to build this, carry on…
+++
Motivation
I’ve been a consistent user of AdBlock Plus for the good part of the last 4 years, in part because I am a web developer and I am, statistically speaking, constantly and overly exposed to Internet advertisement.
I’ve surfed the web for a while now (~15 years) and I’ve seen it turn into a massive advertisement landfill, thanks to big tech and media companies.
Don’t get me wrong there, I understand some of it actually is of benefit to parties involved and a lot of people and companies are finding ways to make a living out of online advertisement.
But let’s not forget that for the rest of the cases, there are sites that over exploit this business model to the point where the browsing experience becomes unbearable.
Let’s go halfway and take for example theverge.com a very popular tech news site. They have a solid, full width banner, dedicated to online advertising, through what it seems Google AdSense.

A targeted Ad @ theverge.com
Using AdBlock will most likely block it.
- But what if I switch to a browser where I don’t have AdBlock ?
- Or what if I navigate to this site in my phone where I also don’t have AdBlock?
- What if the ever growing list of devices at my house are not blocking these obnoxious ads ?
Enter, PiHole:
A network-wide ad blocking DNS Sinkhole that doesn’t require anyone to install anything
Setup
So, as per the official documentation and guides, you need your own hardware and Linux distribution.
Disclaimer: I’m doing this tutorial on macOS.
Requirements
- Raspberry Pi Zero W (~£28)
- Power supply*
- 32 Gb SD Card (~£5)**
- Raspbian Buster Lite ***
* Any micro usb cable + adapter will do
** Any SD card over 8 Gb will do, I had a 32Gb lying around
*** Free from the RPi Foundation
Steps
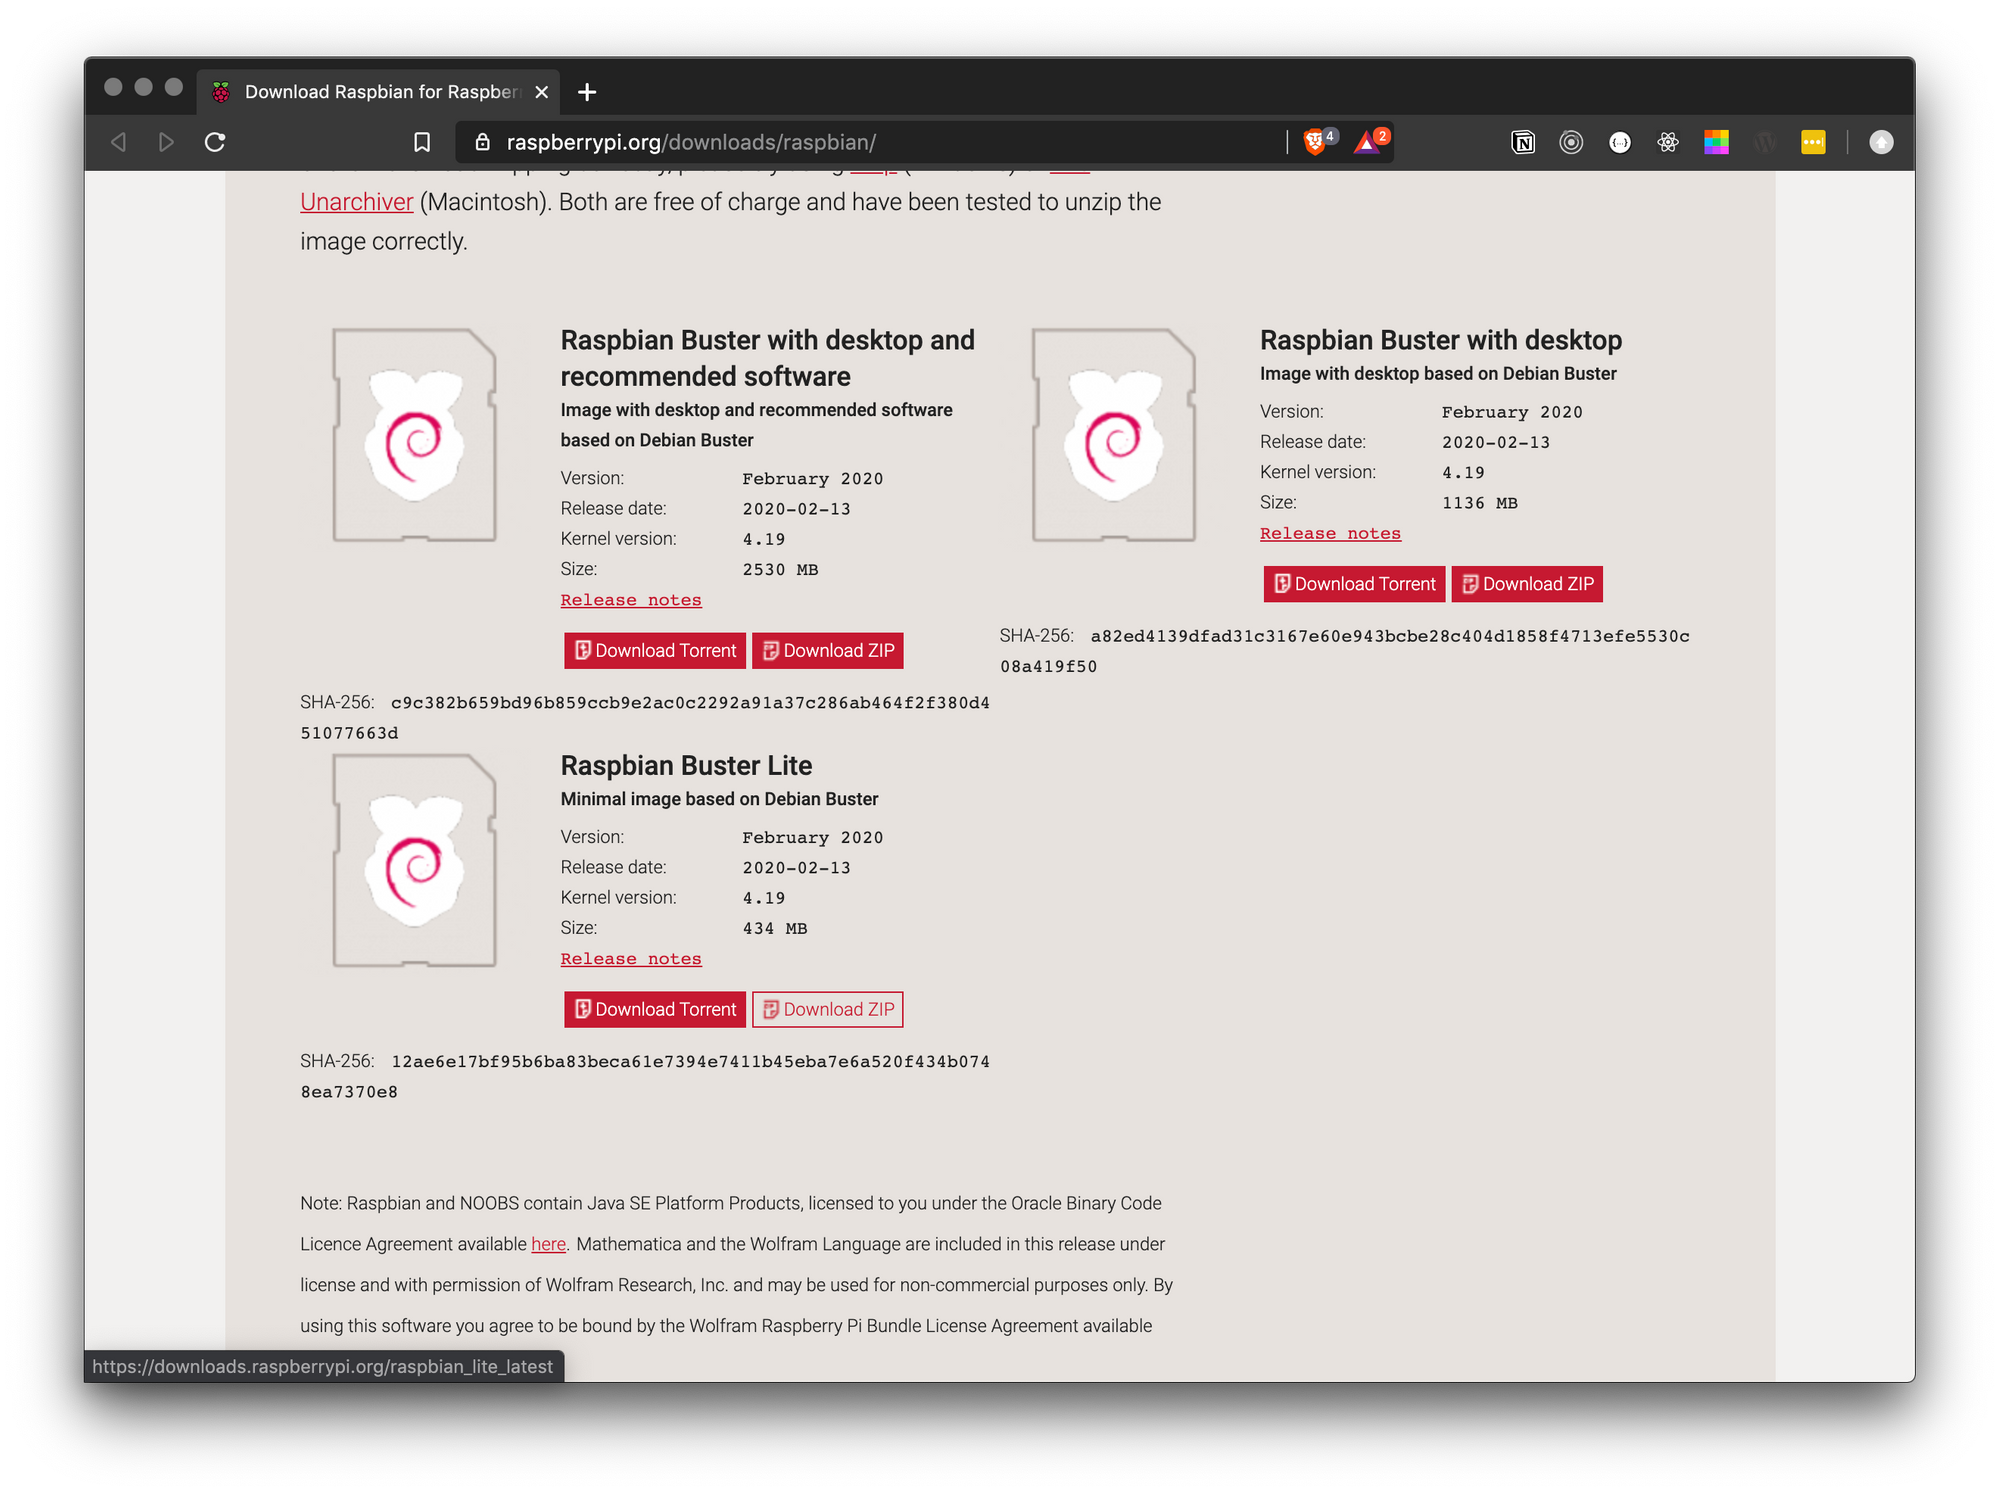
1. Download Raspbian Buster Lite
This is just the base operative system that handles all the low level for us
Raspbian is based in Debian, which is a very popular Linux distribution.
2. Burn the .ISO on the SD Card
Insert the SD Card in your computer and try to make sure it is formatted to ExFAT, if you don’t know how to do this, see this guide
The next step is to burn the previously downloaded .ISO image into the SD Card. Apple-Pie Baker is a fantastic piece of software I keep using for this step when dealing with Raspberry Pis (Pies?), and it’s free, but you can always donate !
You have to:
- Select Disk: Your SD Card
- Restore: The downloaded Raspbian ISO
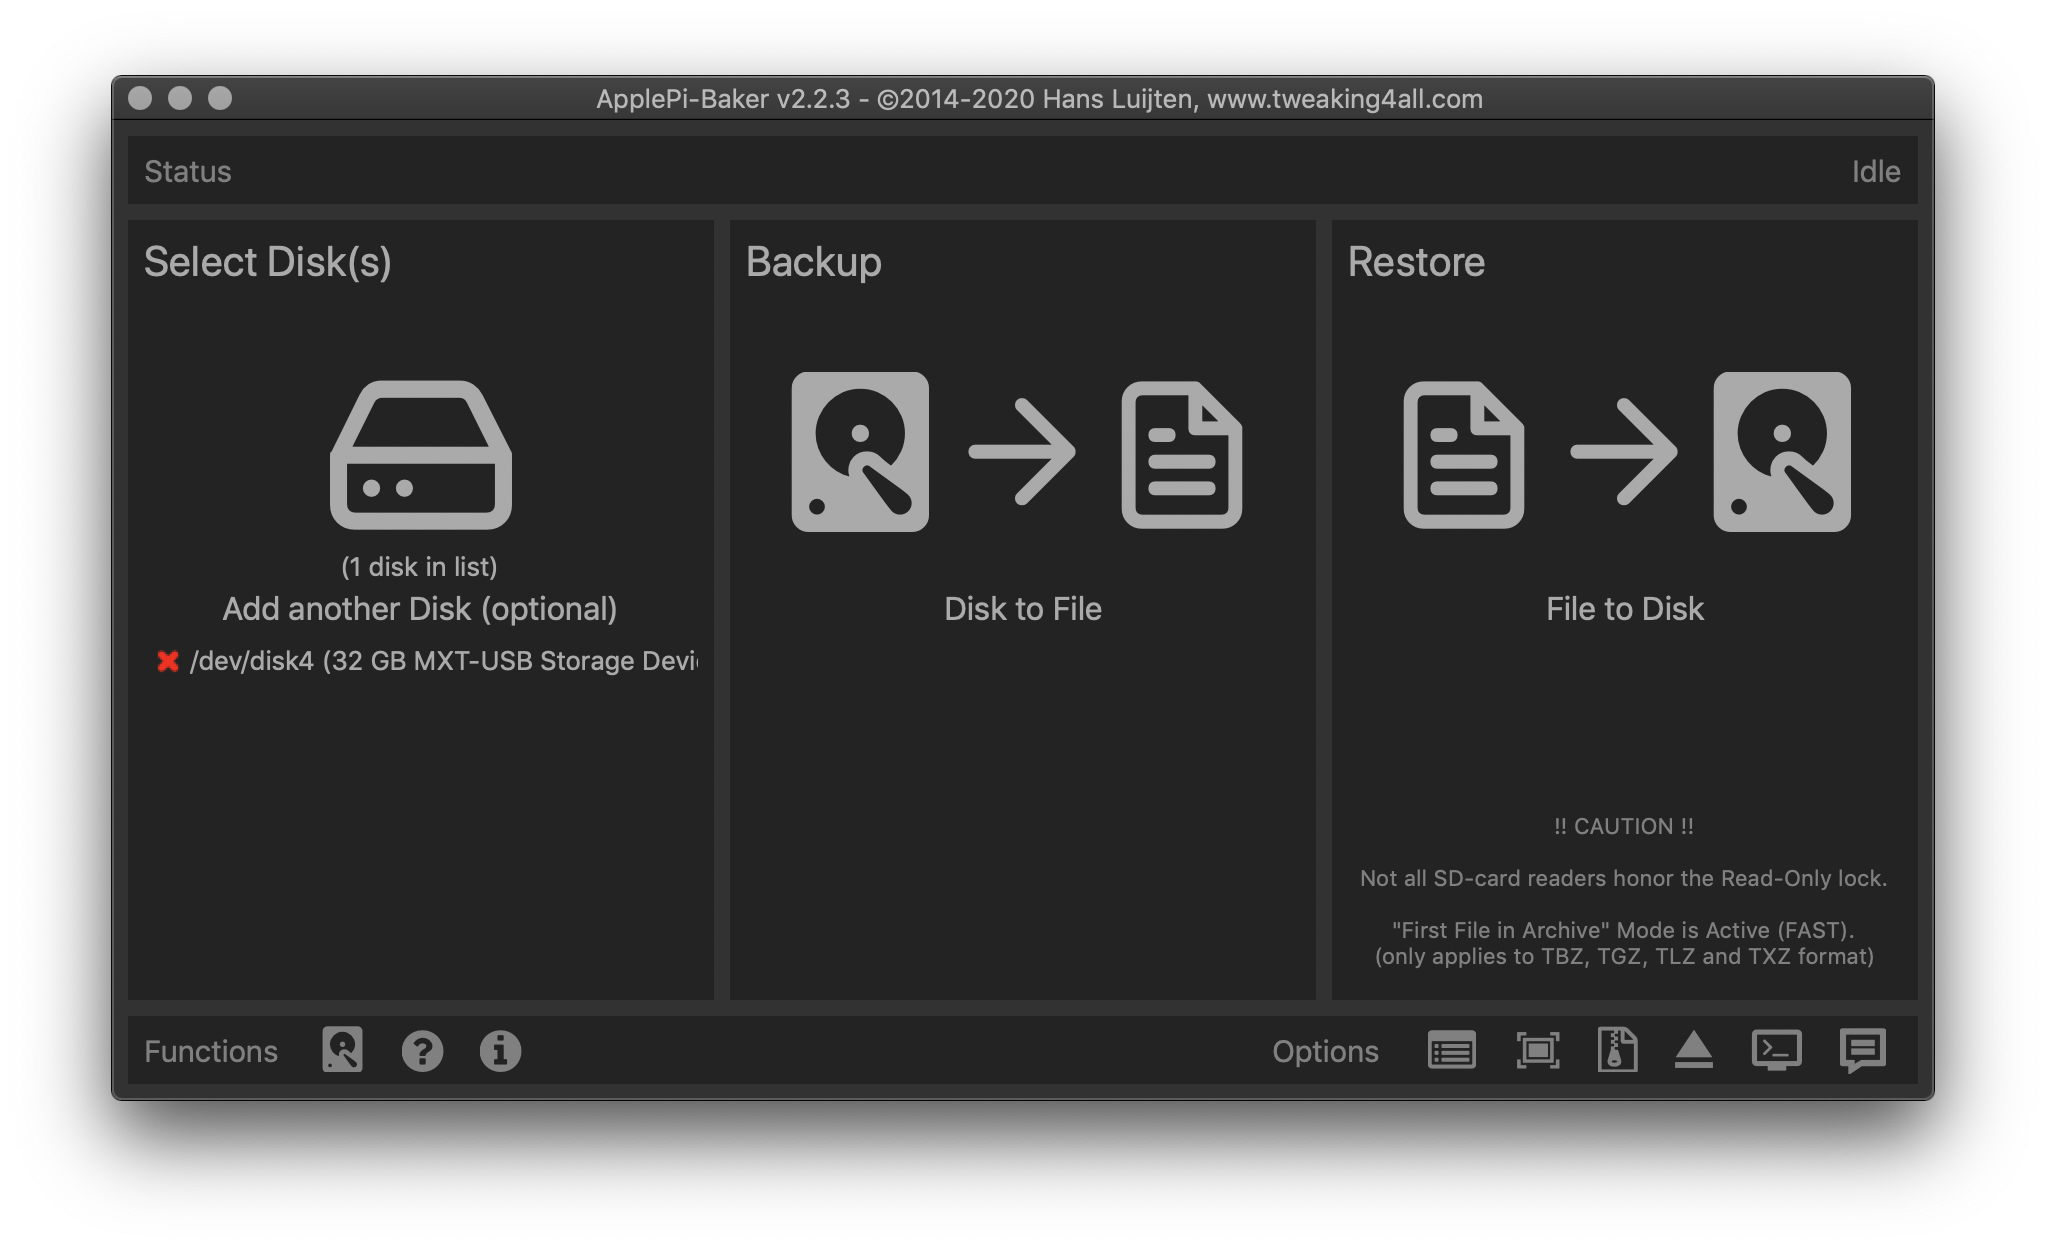
Wait for it to finish. You should see a mounted volume called boot
3. Configure Wifi Credentials
This next step is very important when you first boot a headless Raspberry Pi (No screen), as it ensures that the Raspberry automatically connects to your network and lets you access it through SSH.
- Enable SSH
All you have to do is run the following line in your Terminal
touch /Volumes/boot/ssh
Create an empty file at the boot volume called ssh
It will create an empty file called ssh, which will instruct Raspbian to open the SSH port (22)
- Add your SSID
Using your notepad or code editor, create a file called wpa_supplicant and enter the following
country=gb
update_config=1
ctrl_interface=/var/run/wpa_supplicant
network={
    scan_ssid=1
    ssid="wifiname"
    psk="p4ssw0rd"
}
Configure your own network settings here
Then move it to /Volumes/boot
Or you can use the terminal to paste the following:
cat >/Volumes/boot/wpa_supplicant <<EOL
    country=gb
    update_config=1
    ctrl_interface=/var/run/wpa_supplicant
    network={
        scan_ssid=1
        ssid="wifiname"
        psk="p4ssw0rd"
    }
EOL
Create and save the network configuration file in one step
Don’t forget to change the country, ssid and psk attributes to your own
For the country code, refer to the ISO/IEC alpha 2 standard, for example
- GB: United Kingdom/Great Britain
- US: United States
- FR: France
- DE: Germany
4. Insert SD card to Pi and power up
Raspberry Pi Zero W
Give it a while and if all went well:
- Your Raspberry connected to your Network
- Your Router assigned a IP address to it
- Your Raspberry has SSH enabled at port 22
Here’s a detailed guide by the RPi Foundation on connecting via SSH to the Raspberry Pi.
For now, all you need to know are the defaults:
- User: pi
- Hostname: raspberrypi.local*
- Password: raspberry
Some macs will not resolve this hostname to the IP address, so you’ll have to find the actual IP address of the Raspberry Pi
To discover the IP address of your Raspberry Pi, there are several ways:
Using a 3rd Party App
I’m using Fling - Network Tools on my Android phone to detect the hosts currently connected to the network,
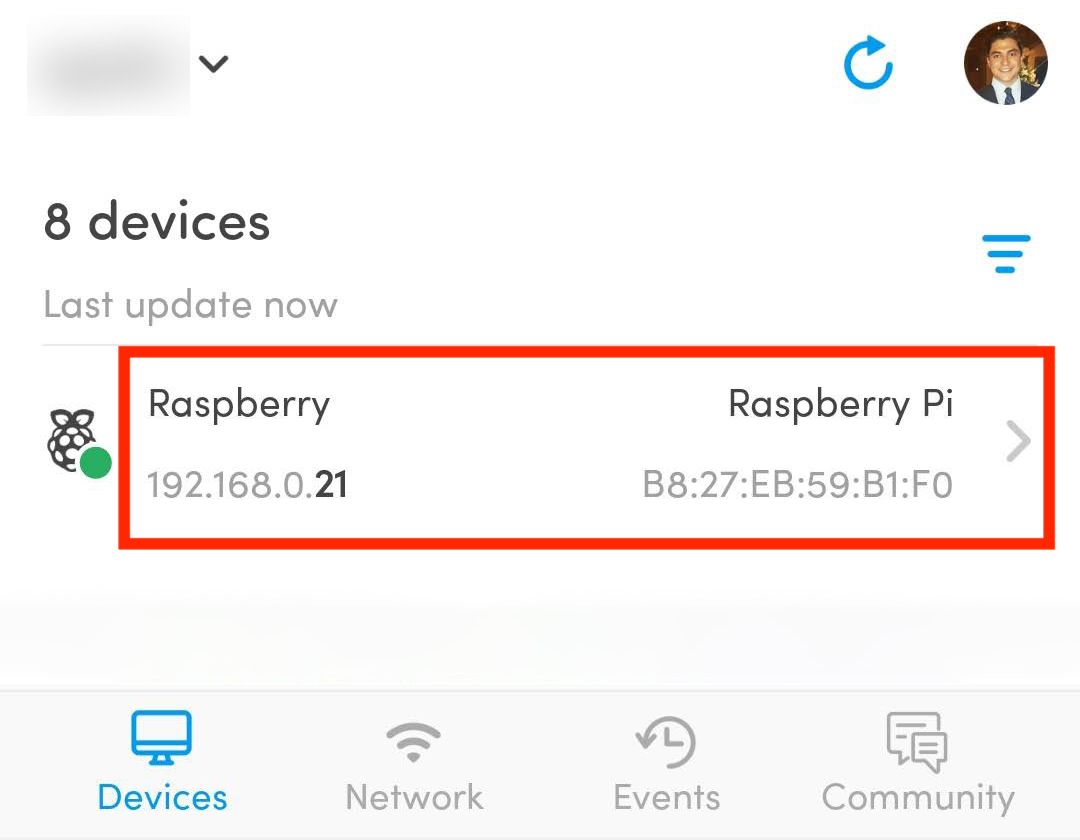
Fling - Network Tools (Cropped phone screenshot)
Using a Network Utility
If you want to see the host name, IP and all of the Raspberry Pi information on your machine, you could either go to your router homepage (boring) or use nmap (Network Mapper) a fantastic CLI utility for network discovery:
nmap 192.168.0.1/24
It will take a while depending on the amount of devices connected to your network, but, it will also get you the open ports of said devices.
We’re only interested in the hosts that have the ssh port 22 open.
Nmap scan report for 192.168.0.21
Host is up (0.019s latency).
Not shown: 999 closed ports
PORT  STATE SERVICE
22/tcp open  ssh
We now know, that our Raspberry Pi is using 192.168.0.21
5. Connect via SSH
As said before, you can try using the hostname, or the IP address
ssh pi@raspberrypi.local
Using the Hostname
ssh pi@192.168.0.21
Using the IP address
You should see the following authenticity prompt
The authenticity of host '192.168.0.21 (192.168.0.21)' can't be established.
ECDSA key fingerprint is SHA256:################################.
Are you sure you want to continue connecting (yes/no)?
Default Authenticity prompt for SSH
The default password is raspberry
Enter it and then after login, you should see a prompt at the end like this one:
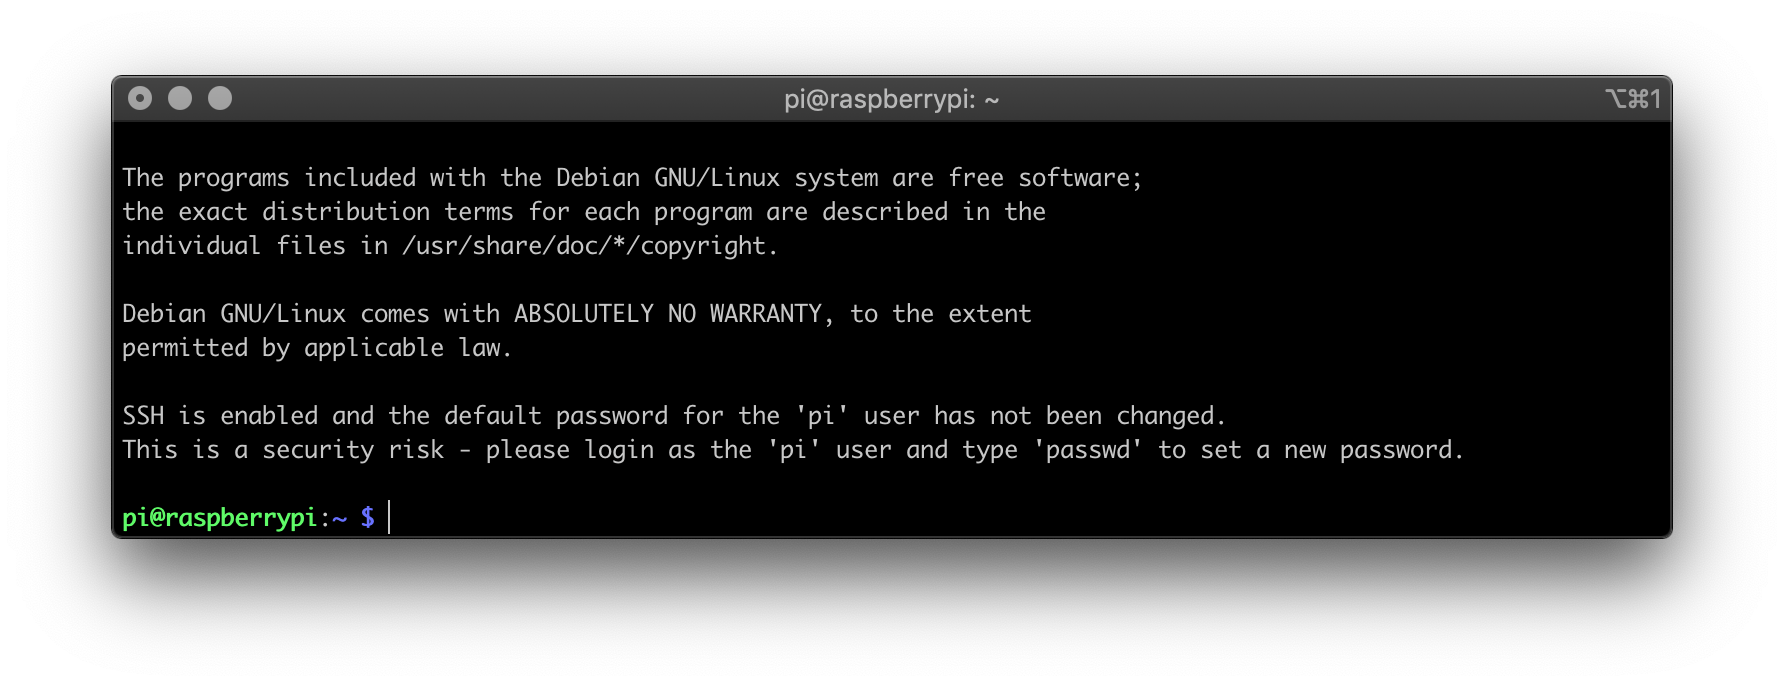
Raspberry Pi default SSH Session
If you read closely, there is a security warning that exhorts you to change the default password.
I would very much like to emphasise that you SHOULD GO AND CHANGE THE DEFAULT PASSWORD. Raspberry Pi is synonym of ubiquity, which means there’s a high chance that if you see one in the wild, it will still have the default settings.
You don’t want people that come visit to snoop around your browsing habits, do you?
6. Install PiHole
From the official page of the PiHole project, we get redirected to the official Github Repository, were there are several installation methods.
Lets follow the easiest one. Copy and paste that into the Raspberry Pi SSH Session
sudo curl -sSL https://install.pi-hole.net | bash
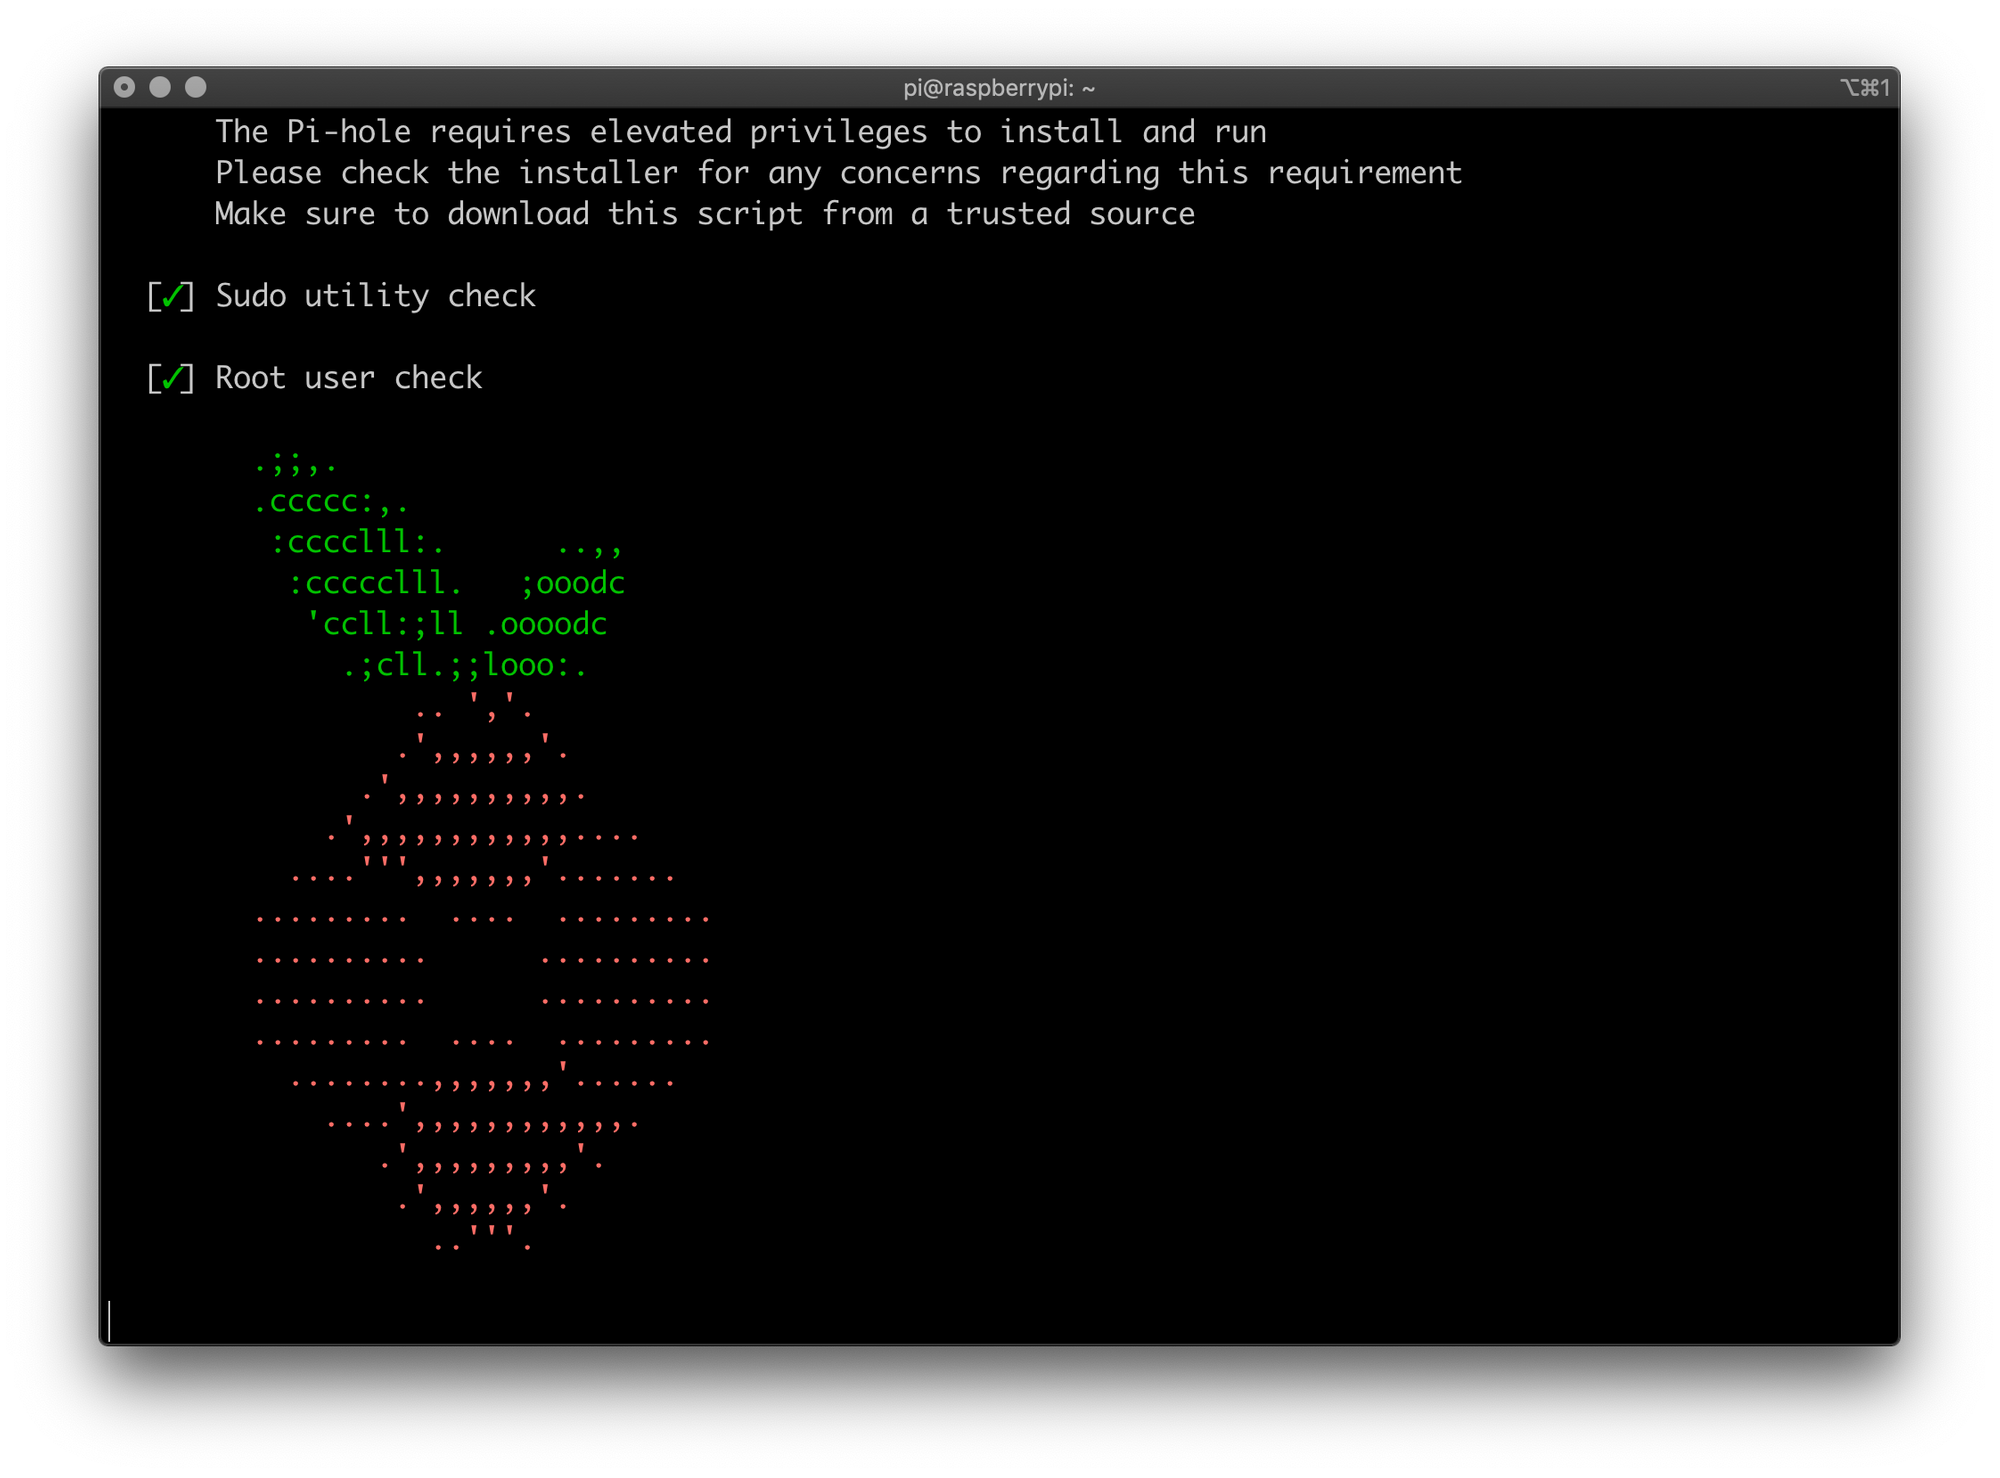
PiHole characteristic installation ascii art
The installation scripts will start running and you will see your Raspberry Pi blinking at times.
Follow along with the installation wizard. For the most part, the defaults will work and all you have to do is keep pressing enter.
The PiHole installation Wizard
When you reach the Upstream DNS Provider, Google is the default one, and it will work, but I usually go with Cloudflare. There are some reports that Cloudflare are seemingly the “good guys”
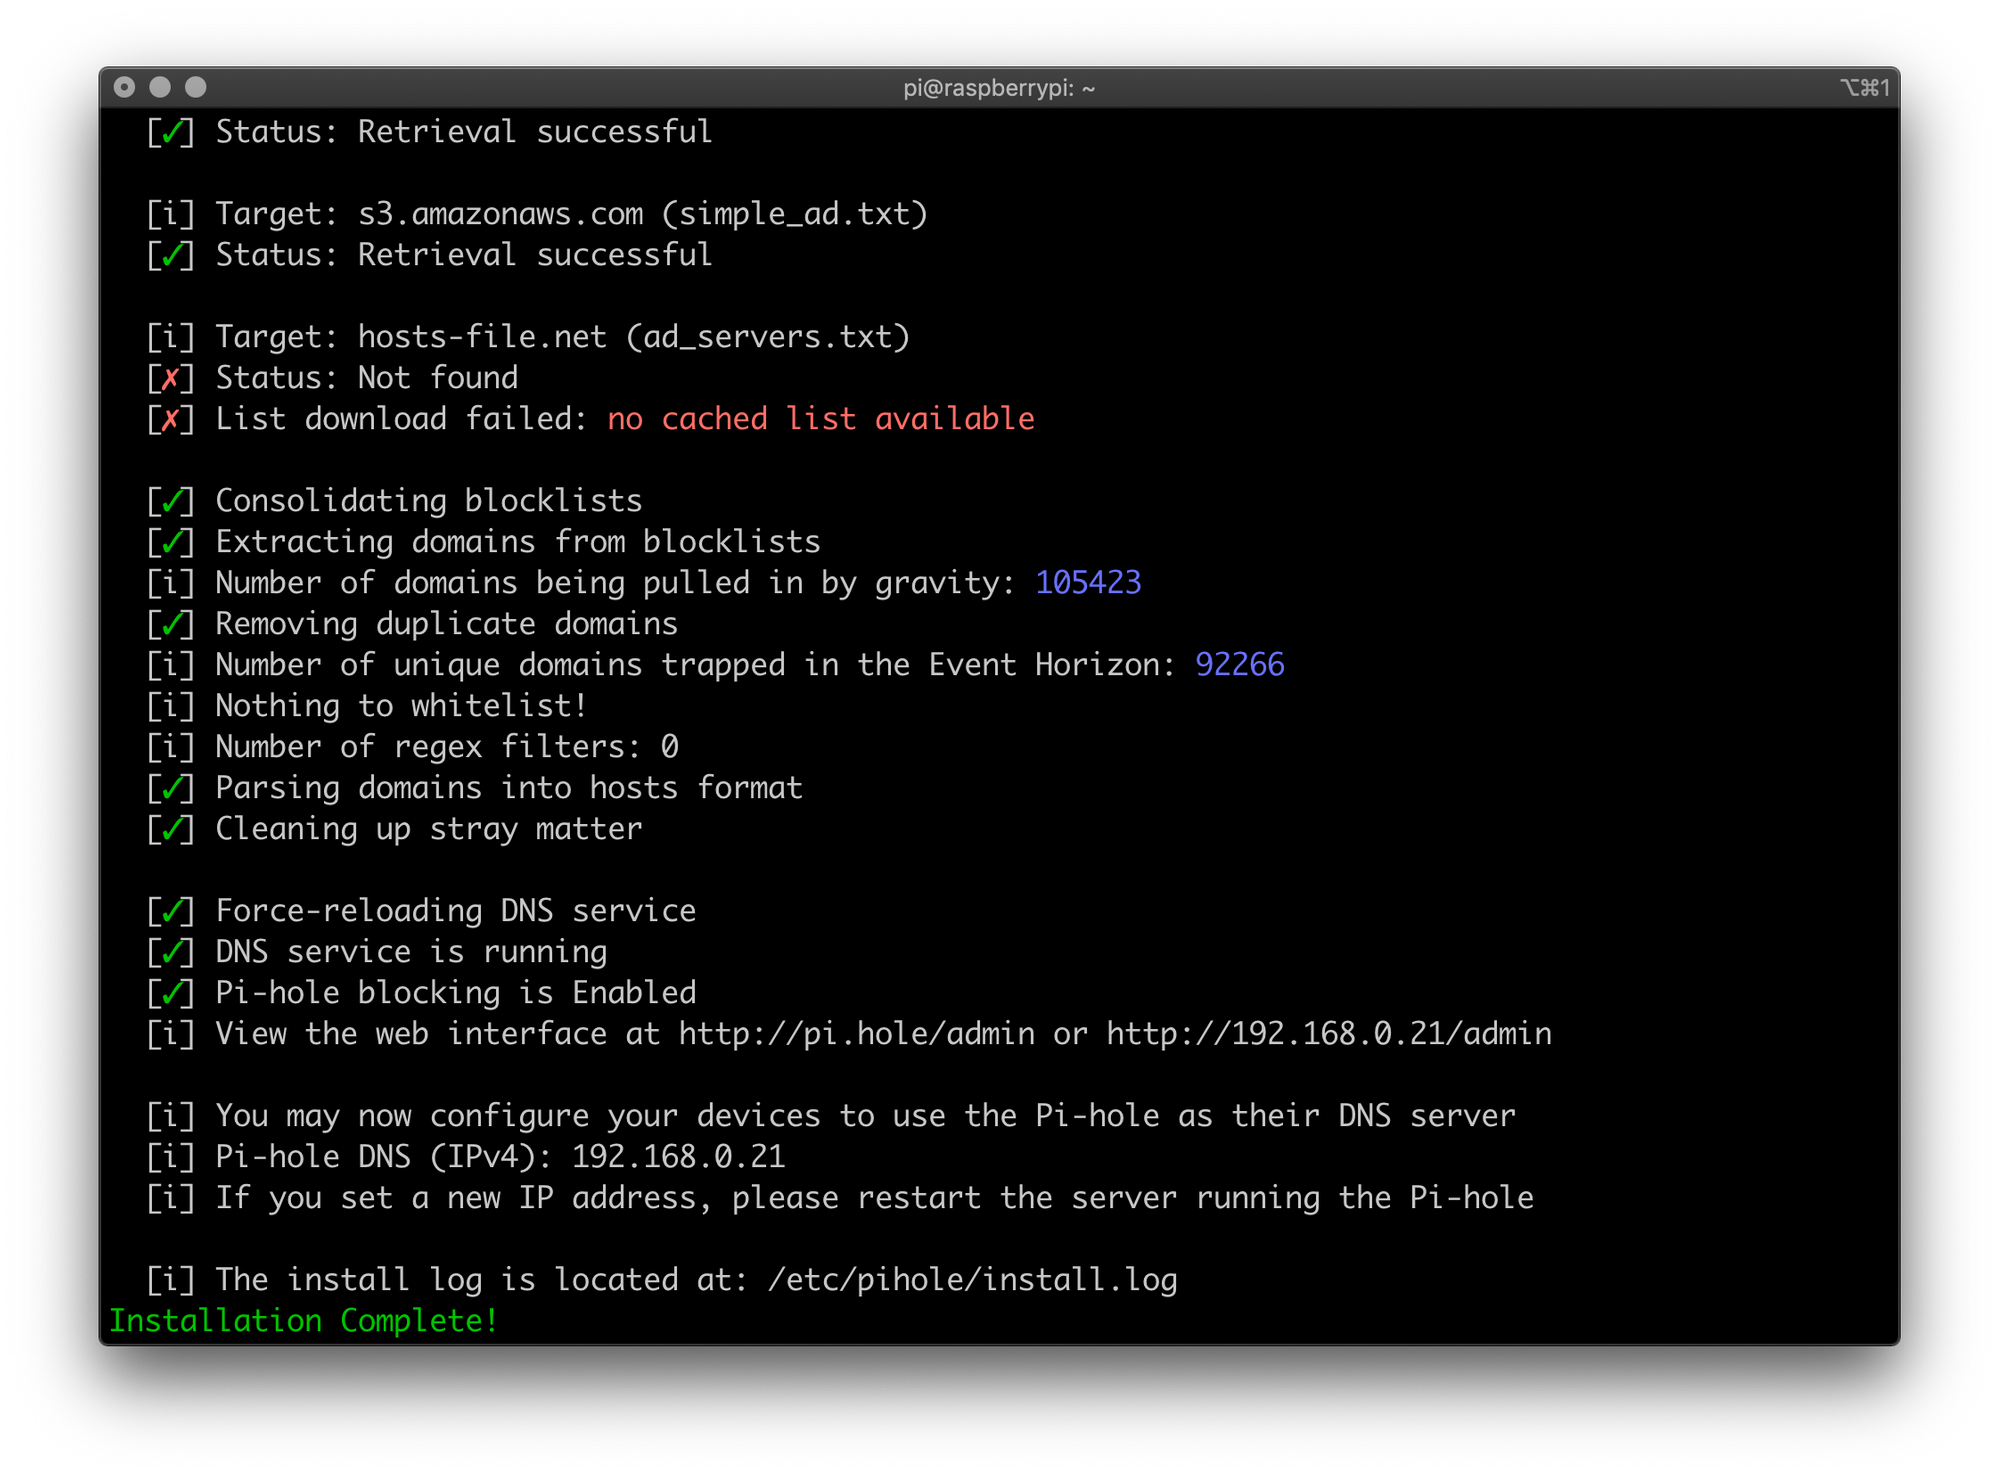
You should see your Admin Panel password at the end of the wizard and somewhere at the Terminal window. Make sure you store it and keep it safe.
7. Open the Admin Console
If you see something similar to the following, it means you’re almost there.
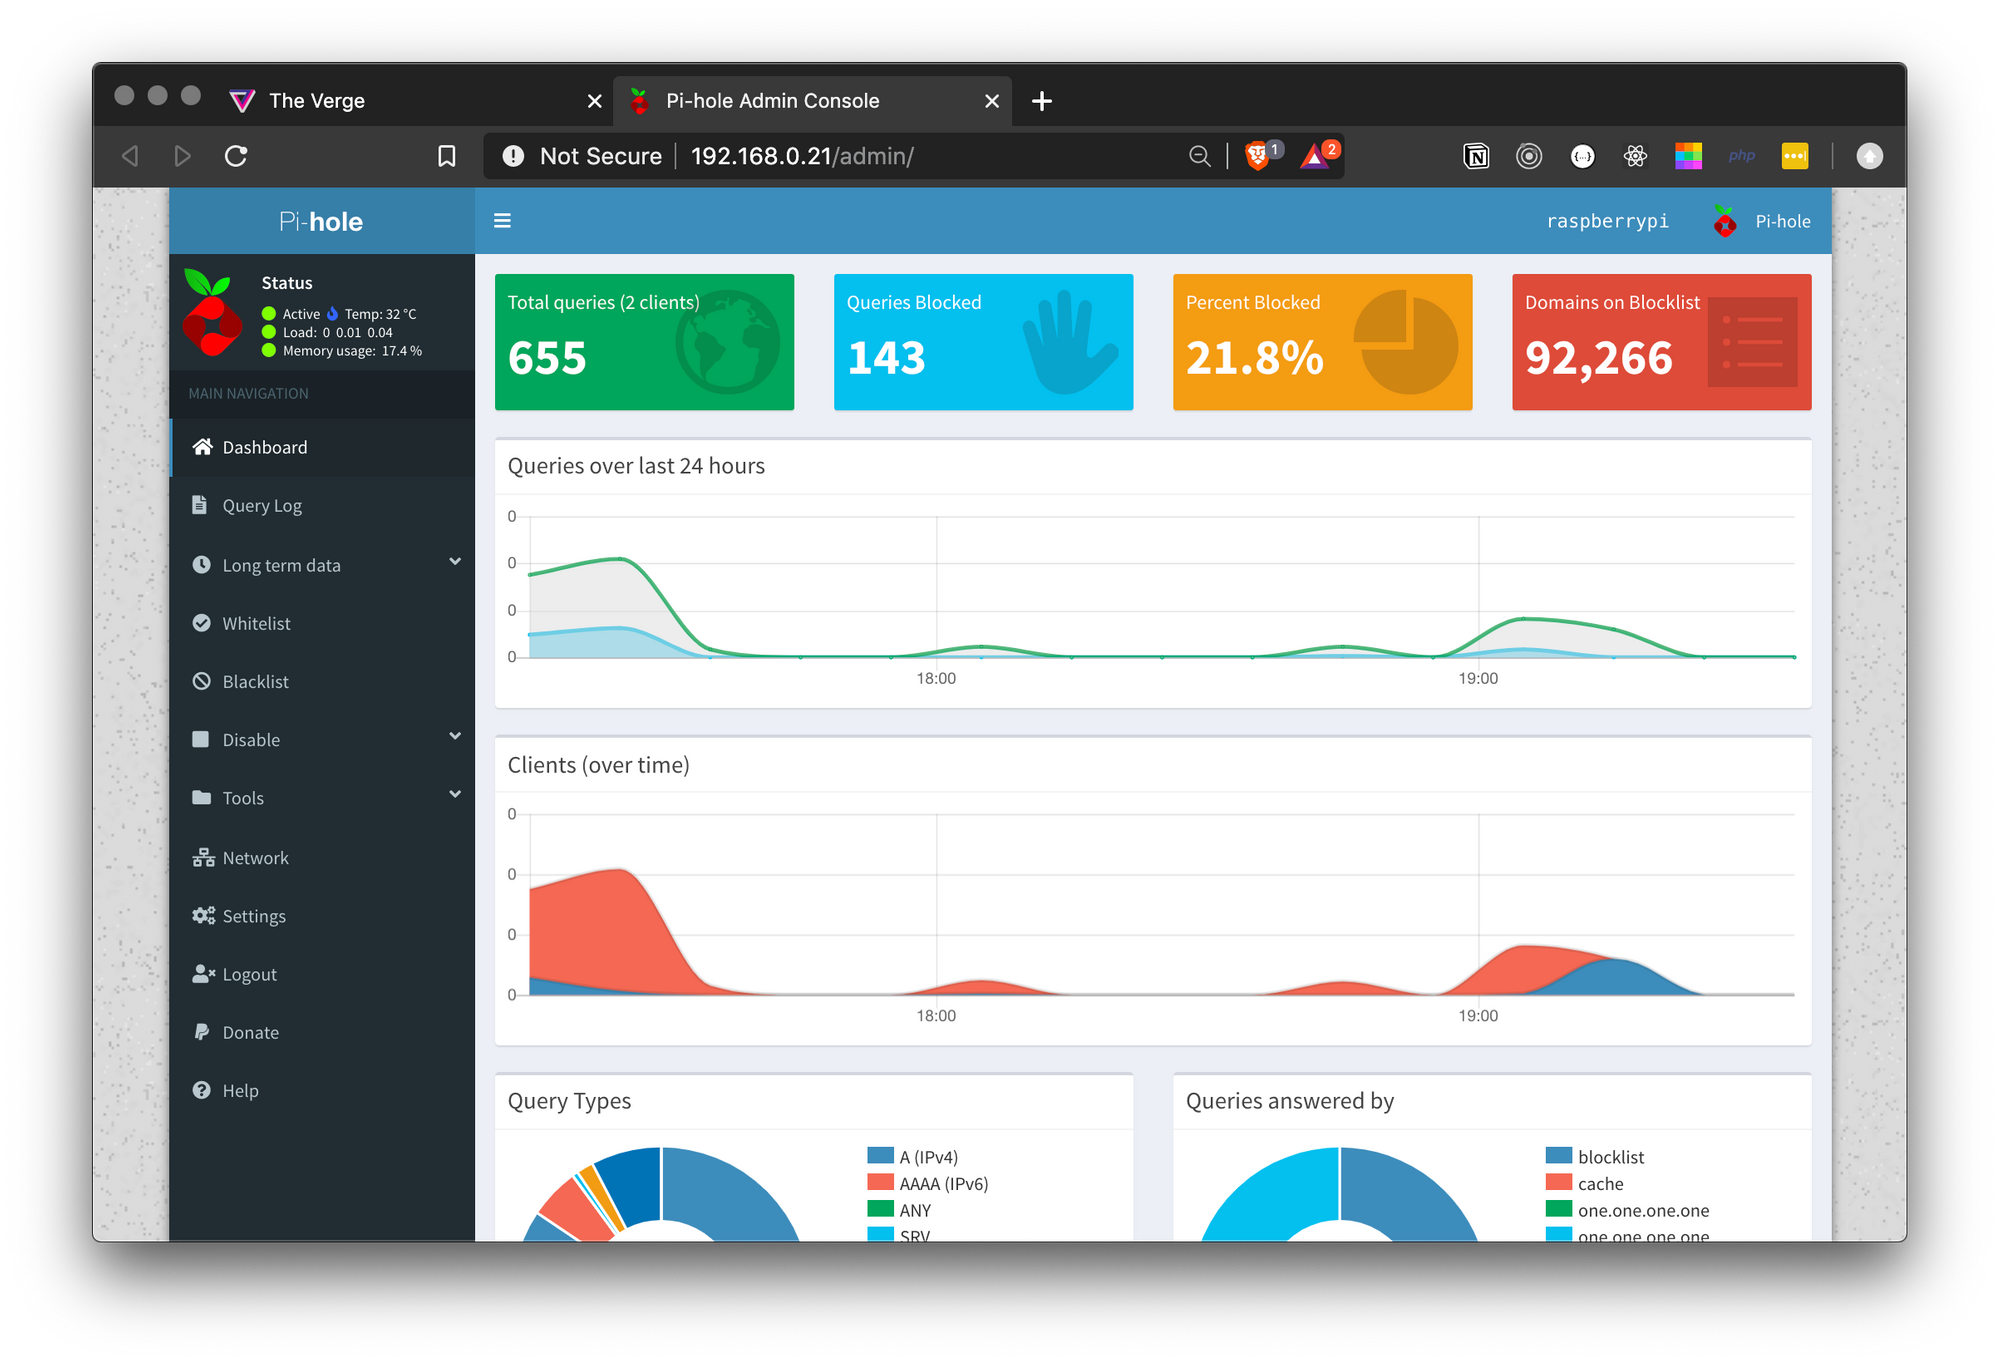
The Pi-Hole Admin Panel
Make sure to login and remember your password.
That’s it for the hardware and the DNS sinkhole, now, you can tell your devices or your router itself to use the Raspberry Pi’s IP address as the DNS Server.
8. Configure the DNS
For the sake of completing this tutorial and because at the moment my router is locking itself (Thank your Virgin Media), I will only test this on my Phone and my Computer, but should be a sufficient PoC that this works
To test it your computer:
- Go to your System Preferences > Network > Advanced
- Go to the DNS Tab
Enter whatever IP address your router gave to your Raspberry Pi. In this case 192.168.0.21, on the left side
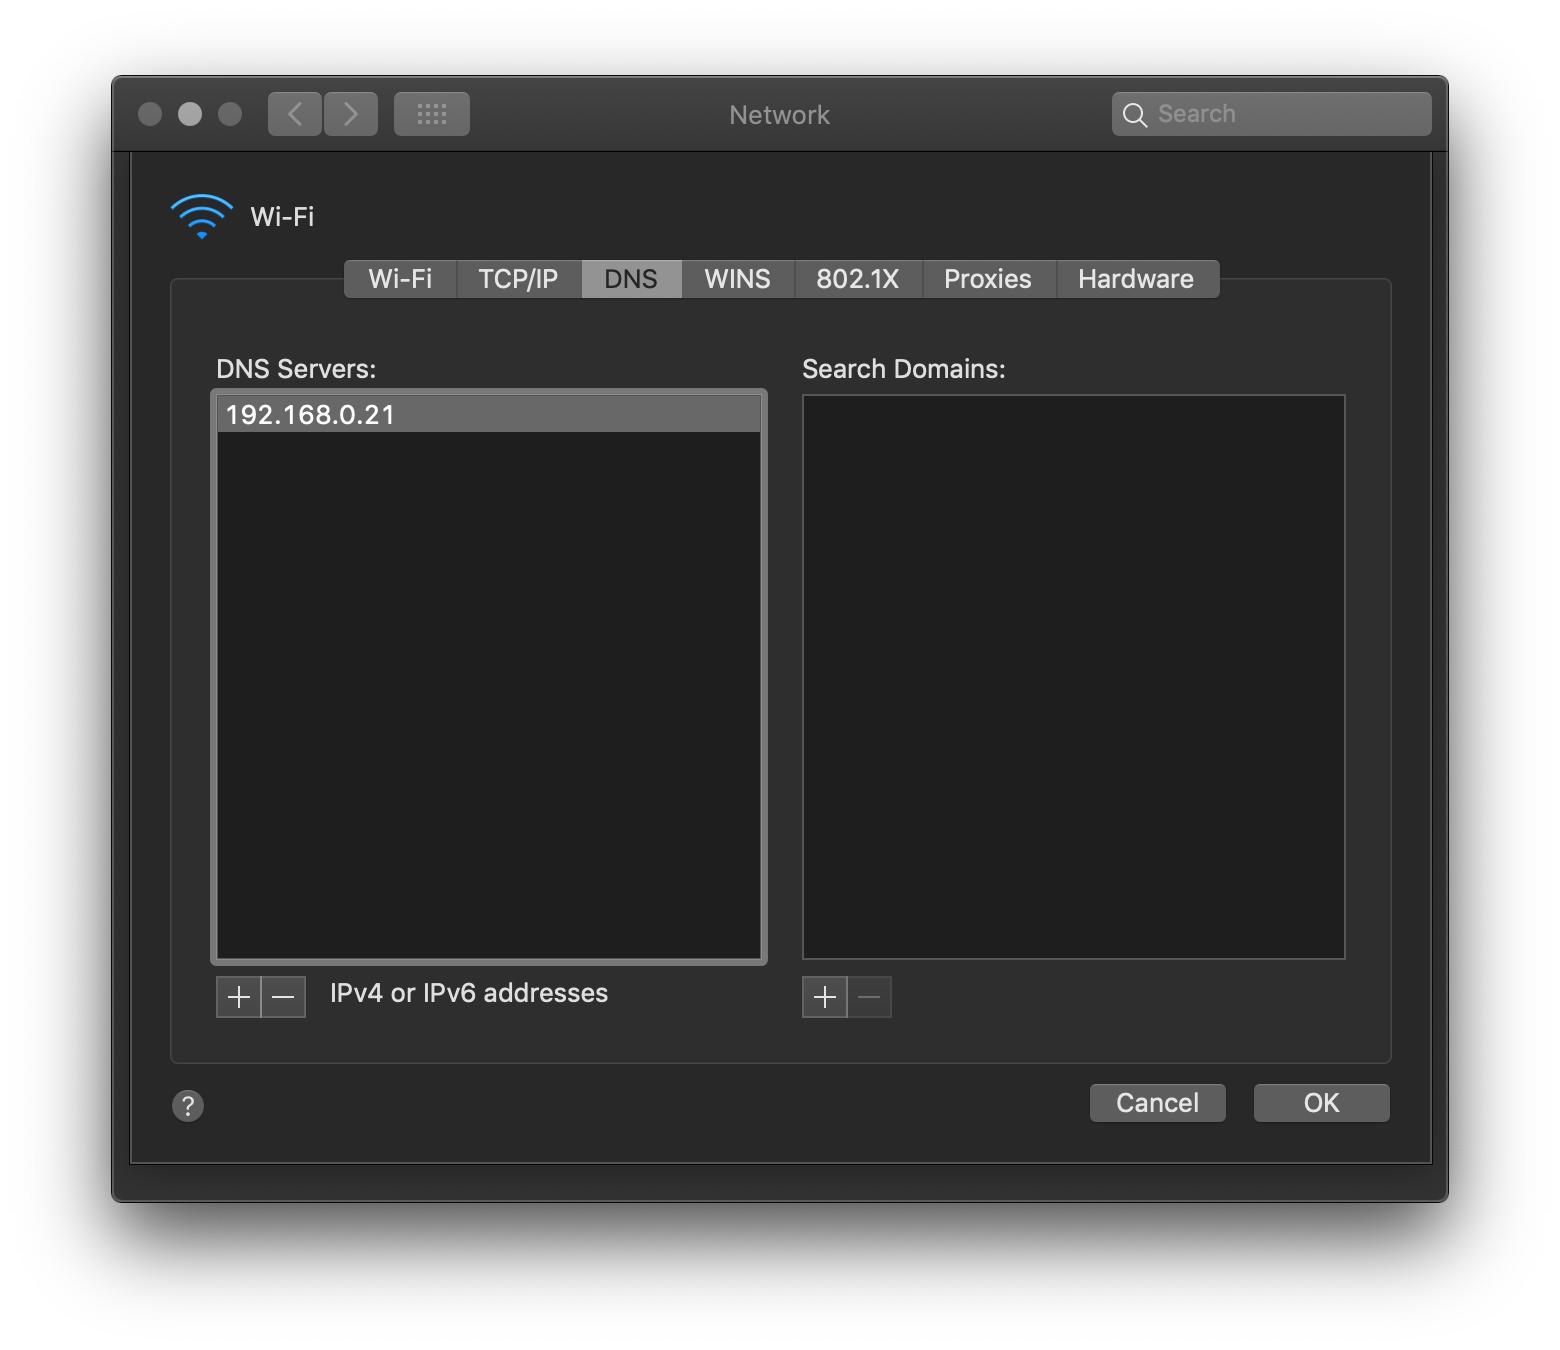
DNS Settings at System Preferences > Network
Don’t forget to click OK and then Apply
9. Test
Let’s go back to theverge.com and see if it worked.

The Ads are being blocked at the Network Level
As you can see, the ad is gone and I can see in the PiHole Admin Panel the Queries (Requests to Ad Servers) being blocked in real time.
Fantastic !
10. Test Again
I went ahead, redid the last step, this time restarting my browser, to do another test.
This is before the DNS setting:
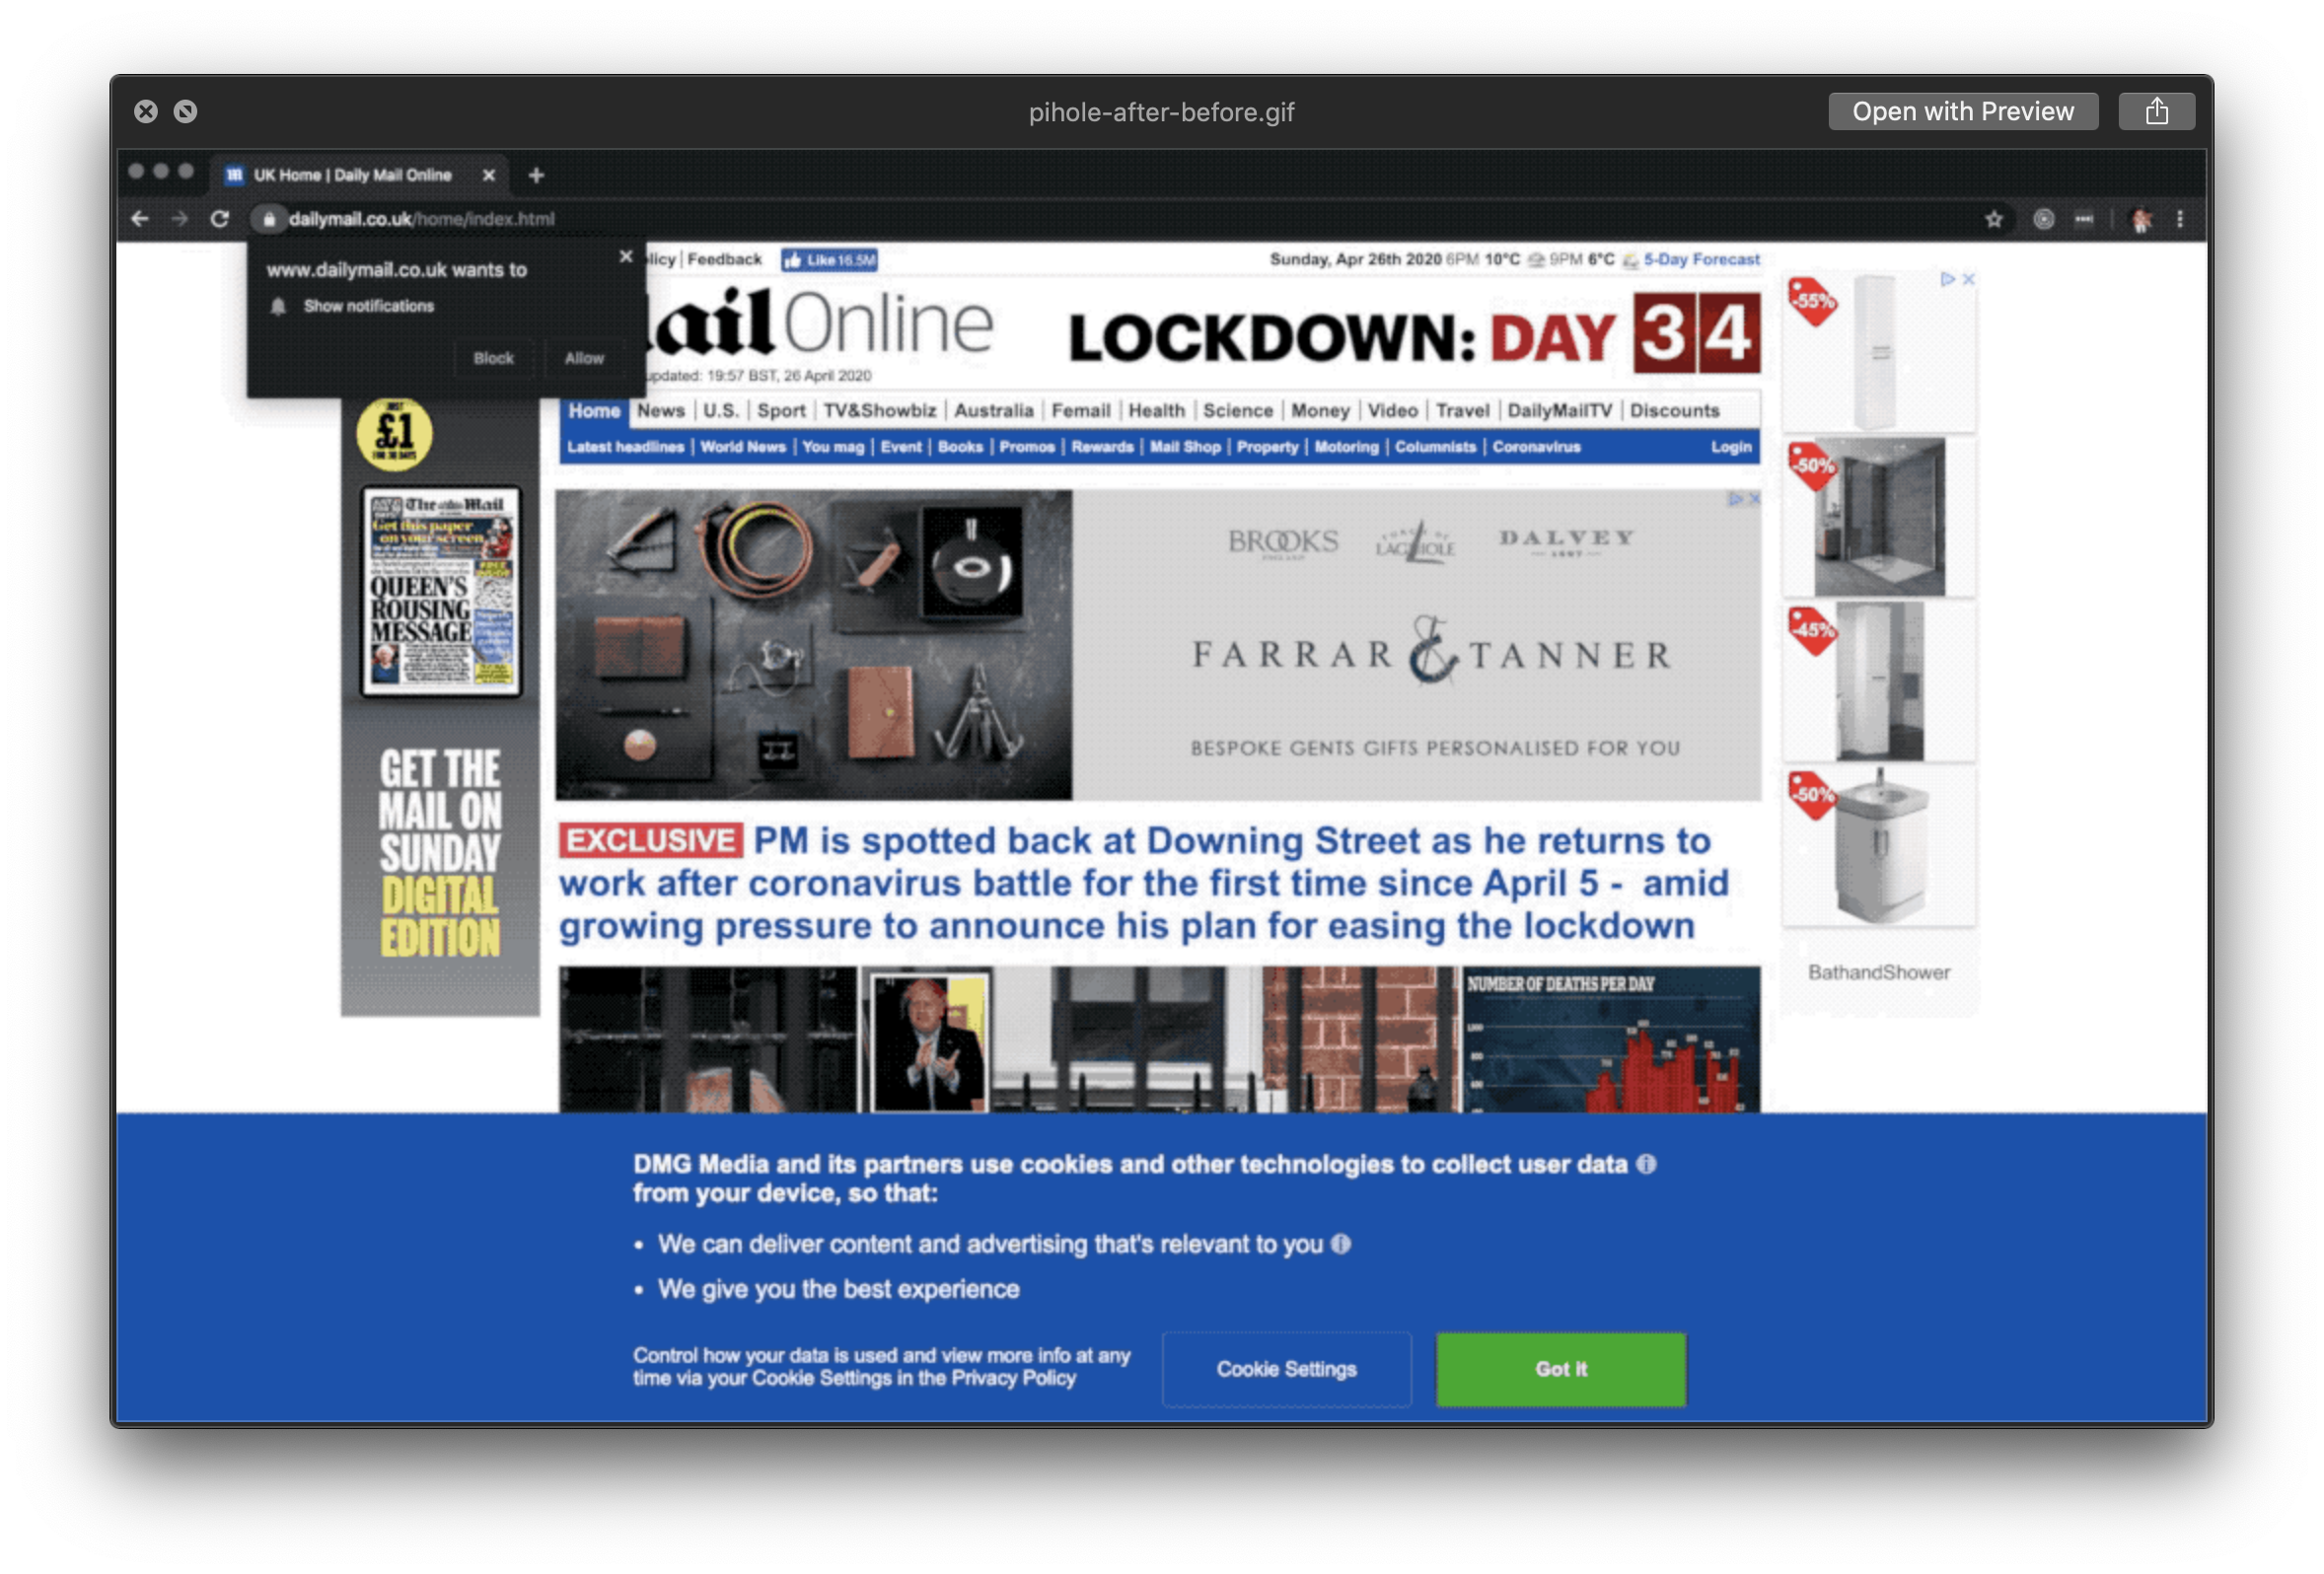
Dailymail.co.uk with 3 Ad Banners, 1 Cookie Banner & 1 Notification Request
This is after.

Dailymail.co.uk without ads